Jenkins: A Comprehensive Guide to Continuous Integration and Delivery


Introduction
Jenkins is an open-source automation tool used for continuous integration, continuous delivery, and continuous deployment in software development. It simplifies collaboration by automating the integration of code changes from multiple developers. Jenkins enables the automation of building, testing, and deploying code changes, ensuring early issue detection and faster software delivery. With Jenkins, you define your software delivery process using a Jenkinsfile, and Jenkins orchestrates the pipeline stages. The web-based interface and plugins enhance Jenkins' functionality and integrations. Security measures include authentication, authorization, SSL/TLS encryption, and regular plugin updates. Jenkins streamlines workflows, reduces manual effort, and promotes faster and more reliable software delivery.
Continuous Integration, Continuous Delivery, and Continuous Deployment
Continuous Integration (CI) is a software development practice that involves integrating code changes from multiple developers into a shared repository frequently. Jenkins helps automate the CI process by building and testing the code whenever changes are pushed to the repository.
Continuous Delivery (CD) extends CI by automating the release process. With CD, you can have a reliable and repeatable process to deploy applications to various environments, such as staging or production.
Continuous Deployment (CDep) takes CD further by automatically deploying applications to production once they pass the necessary tests in the CD pipeline. This approach eliminates manual intervention and enables fast and frequent deployments.
Installing Jenkins
To install Jenkins, follow these general steps:
Download the latest Jenkins WAR file from the official website: jenkins.io.
Open a terminal or command prompt and navigate to the directory where the WAR file is located.
Launch Jenkins using the following command:
java -jar jenkins.warOnce Jenkins is running, access it in your web browser at localhost:8080.
Installing and Using the Jenkins CLI
Jenkins provides a Command Line Interface (CLI) that allows you to interact with Jenkins from the terminal. Here's how to install and use the Jenkins CLI:
Download the Jenkins CLI JAR file from localhost:8080/cli.
Open a terminal or command prompt and navigate to the directory where the JAR file is located.
Use the following command to execute CLI commands:
java -jar jenkins-cli.jar -s http://localhost:8080/ <command>For example, to list all jobs, use:
java -jar jenkins-cli.jar -s http://localhost:8080/ list-jobs
Jenkins Plugins and Integrations
Jenkins has a vast ecosystem of plugins that extend its functionality. These plugins allow you to integrate Jenkins with various tools and technologies. To install a Jenkins plugin:
Go to the Jenkins dashboard.
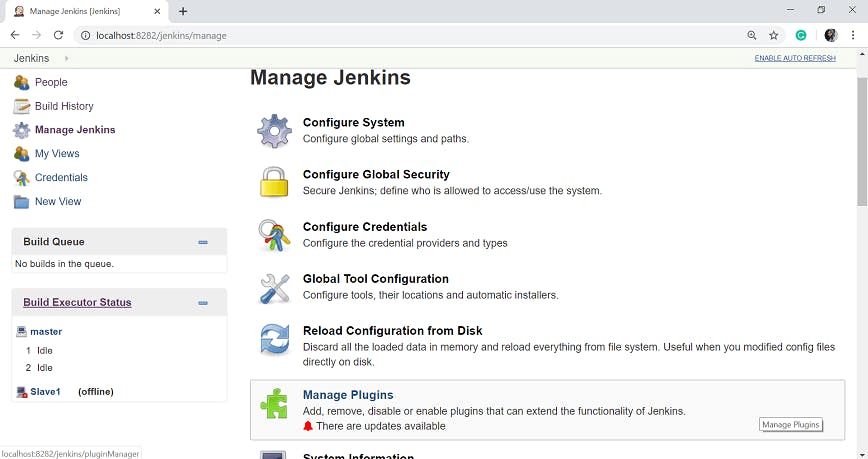
Click on "Manage Jenkins" on the left sidebar.
Select "Manage Plugins."
In the "Available" tab, search for the desired plugin.
Check the checkbox next to the plugin and click "Install without restart."
Exploring the Jenkins UI
The Jenkins user interface (UI) provides a comprehensive view of jobs, build history, plugins, and system configuration. Here are some key UI elements:
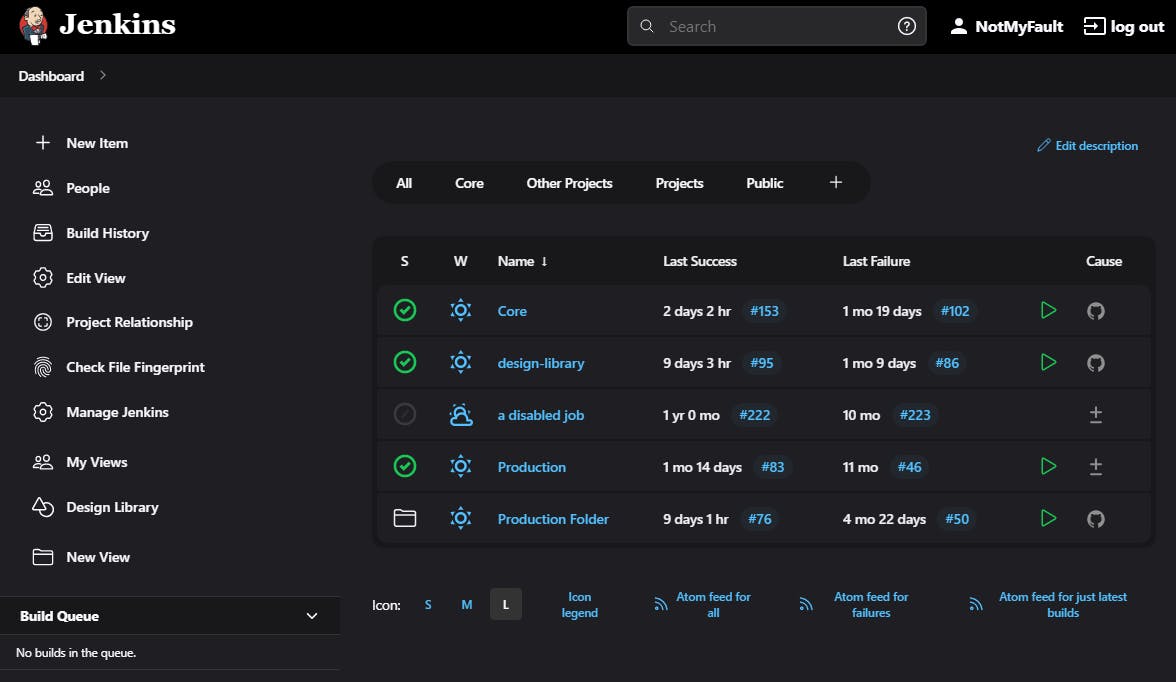
Dashboard: The main page displays an overview of jobs, build statuses, and recent activity.
Job Configuration: Configure individual jobs by specifying source code repositories, build steps, triggers, and more.
Build History: This shows a list of past builds, their statuses, and build artefacts.
Plugin Manager: Allows you to manage and update Jenkins plugins.
System Configuration: Configure global settings, and security, and manage Jenkins nodes.
System Administration with Jenkins
Administering Jenkins
Administering Jenkins involves managing users, configuring security, defining permissions, and setting up authentication methods. Here's an overview:
Manage Users: Jenkins allows you to create and manage user accounts with different levels of access and permissions.
Configure Security: You can configure security settings to control who can access Jenkins and what actions they can perform.
Define Permissions: Jenkins provides fine-grained control over permissions, allowing you to assign specific access levels to users or groups.
Authentication Methods: Jenkins supports various authentication methods like username/password, LDAP, Active Directory, or OAuth.
Restore Jenkins
Regularly backing up Jenkins is crucial to ensure that your configuration, jobs, and data are protected. Here's how to restore Jenkins from a backup:
Stop Jenkins.
Copy the backup files to the appropriate locations (e.g., job configurations, plugins, and system configuration files).
Start Jenkins.
Pipelines
Jenkins Pipelines provide a way to define build processes and workflows as code. They are typically defined using a Jenkinsfile, which is a text file written in Groovy syntax. Some key concepts related to Pipelines:
Jenkinsfile
A Jenkinsfile is a text file that defines the entire build process and workflow. It specifies the steps, stages, and conditions for building, testing, and deploying your application. Jenkinsfiles can be stored in source control along with your application code.
Building a Jenkinsfile
To build a Jenkinsfile, follow these steps:
Create a Jenkinsfile in your project repository.
Define stages and steps in the Jenkinsfile using Groovy syntax.
Commit and push the Jenkinsfile to your source control repository.
Building a CI Pipeline
A CI pipeline is designed to automatically build, test, and validate changes whenever code is pushed to the repository. Here's an example of a basic CI pipeline:
groovy
pipeline {
    agent any
    stages {
        stage('Build') {
            steps {
                // Build steps
            }
        }
        stage('Test') {
            steps {
                // Test steps
            }
        }
    }
}
Full Pipeline Deployment
A full pipeline deployment encompasses the entire software delivery process, from building the code to deploying it to production. It includes CI, CD, and CDep stages. Here's an example of a full pipeline deployment Jenkinsfile:
pipeline {
    agent any
    stages {
        stage('Build') {
            steps {
                // Build steps
            }
        }
        stage('Test') {
            steps {
                // Test steps
            }
        }
        stage('Deploy Staging') {
            when {
                branch 'master'
            }
            steps {
                // Deployment steps for staging environment
            }
        }
        stage('Deploy Production') {
            when {
                branch 'release'
            }
            steps {
                // Deployment steps for production environment
            }
        }
    }
}
Explanation:
The given code represents a Jenkins pipeline with four stages: Build, Test, Deploy Staging, and Deploy Production:
Build: This stage is responsible for compiling and packaging the code into a deployable artefact. The specific build steps are defined within the "steps" block, which can include actions like compiling code, resolving dependencies, and generating the artefact.
Test: In this stage, the code is tested against predefined test cases to ensure its functionality and quality. The "steps" block within this stage contains the necessary commands or scripts to execute the tests, such as running unit tests, integration tests, or other types of automated tests.
Deploy Staging: This stage handles the deployment of the code to a staging environment. The "when" block specifies the condition under which this stage should execute, in this case, when the branch is 'master'. The steps within this stage will typically involve deploying the artefact to a staging environment, setting up the necessary configurations, and performing any additional tests or validations specific to the staging environment.
Deploy Production: This stage is responsible for deploying the code to the production environment. Similar to the Deploy Staging stage, the "when" block defines the condition for executing this stage, here, when the branch is 'release'. The steps within this stage typically involve deploying the artefact to the production environment, configuring any production-specific settings, and conducting final checks before making the code live to end-users.
To run the given Jenkins pipeline, follow these steps:
Ensure you have Jenkins installed and configured.
Create or locate the Jenkinsfile containing the pipeline code provided.
In the Jenkins web interface, navigate to the desired project or create a new one.
Configure the project to use your source code repository and specify the location of the Jenkinsfile.
Save the project configuration.
Trigger the pipeline execution by manually starting the Jenkins job associated with the project, or set up an automated trigger based on events like code commits or schedule.
Jenkins will start executing the pipeline stages sequentially: Build, Test, Deploy Staging (if the branch is 'master'), and Deploy Production (if the branch is 'release').
Monitor the pipeline execution in the Jenkins web interface, which will provide information on the progress, console output, and any encountered errors or failures.
Blue Ocean
Blue Ocean is a plugin for Jenkins that provides a modern and intuitive user interface for designing, visualizing, and monitoring pipelines. It offers a more streamlined and graphical view of your pipeline. Here are the key features of Blue Ocean:
Pipeline Visualization: Blue Ocean provides a graphical representation of your pipeline, making it easier to understand and manage complex workflows.
Editor: It offers a visual editor for creating and modifying pipeline configurations without writing code.
Personalization: Blue Ocean allows you to customize your dashboard with your preferred pipeline views and layouts.
Pipeline Interaction: You can easily interact with pipelines, view logs, and understand the status of each stage.
Ease of Use: Blue Ocean simplifies the pipeline creation and management experience for both beginners and advanced users.
Conclusion
Jenkins is a powerful automation tool that revolutionizes software development and delivery. It enables continuous integration, continuous delivery, and continuous deployment processes, automating tasks such as building, testing, and deploying code changes. By defining pipelines in Jenkinsfiles, collaboration among developers is streamlined, and code integration is seamless. The Blue Ocean interface provides a modern and visual representation of pipelines, enhancing the user experience. With Jenkins, workflows are streamlined, manual effort is reduced, and faster software delivery is achieved, fostering innovation and high-quality application releases. Embark on your Jenkins journey to experience the benefits of continuous integration, continuous delivery, and continuous deployment in your software development lifecycle.